Introduction: Why Publish a No-Code App in 2025?
Have a great app idea but no coding skills? You’re not alone. In 2025, no-code platforms have completely changed the game for entrepreneurs, creators, and small businesses. From fitness trackers to booking apps — anyone can now launch mobile apps without writing a single line of code.
Whether you’re a solopreneur, content creator, or digital agency, this guide will show you how to publish a no-code app on the Google Play Store and Apple App Store—step-by-step, even if you’ve never touched a line of code.
Let’s get started with everything you need to publish no-code apps, tackle store requirements, and go live confidently.
What Are No-Code Apps?
No-code apps are mobile applications built using drag-and-drop interfaces provided by platforms like Adalo, Thunkable, Glide, and Bubble. These tools handle backend logic and UI design visually, allowing creators to focus on app experience, not development complexity.
Step 1: Choose the Right No-Code App Builder (2025 Picks)
Choosing a robust platform is crucial. Here’s a comparison of the top no-code app builders in 2025:
| No-Code Builder | Best For | Android & iOS Support | Pricing | App Store Integration |
|---|---|---|---|---|
| Adalo | MVPs, startups | Yes | Free + Paid | Easy submission with API keys |
| Thunkable | Cross-platform apps | Yes | Free + Paid | Direct publishing tool |
| Glide | Data-driven apps | Yes | Free + Paid | Manual export for stores |
| Bubble | Complex apps | Android (via wrappers) | Paid | Needs external help for stores |
| Draftbit | Pixel-perfect UI | Yes | Paid | Code export + manual submission |
Pro Tip: Choose a platform with direct publishing tools for easiest App Store and Play Store deployment.
Step 2: Prepare App Store & Play Store Developer Accounts
Before publishing, you need the right developer accounts:
Google Play Store
Account Type: Google Play Console
Fee: One-time $25 USD
Link: play.google.com/console
Approval Time: 24–48 hours
Required: App icon (512×512), screenshots, privacy policy
🍎 Apple App Store
Account Type: Apple Developer Program
Fee: $99/year
Link: developer.apple.com
Approval Time: 2–5 business days
Required: iOS certificates, provisioning profiles, Xcode (or use a no-code platform)
Note: You must use a Mac or a no-code platform that supports Apple uploads directly (like Adalo or Thunkable).
Step 3: Build and Test Your App
App Checklist Before Submission
- Clean user interface
- No broken links
- Fast loading
- GDPR-compliant (for EU)
- Clear user onboarding
- No prohibited content (adult, gambling, fake claims)
Testing Tools
| Platform | Tool | Use |
|---|---|---|
| Android | Firebase Test Lab | Simulate Android devices |
| iOS | TestFlight | Beta test with real users |
| Both | BrowserStack | Cross-device testing (manual + auto) |
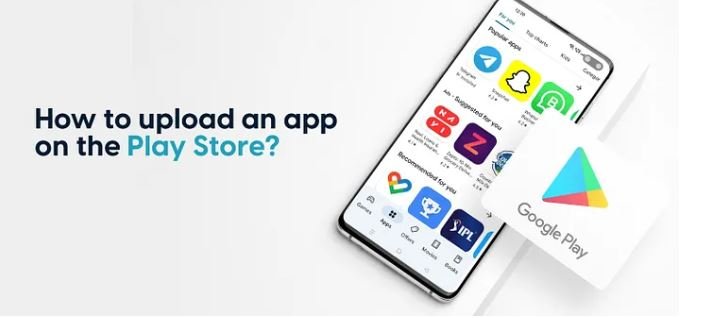
Step 4: Upload Your No-Code App to the Google Play Store
Step-by-Step Submission (Google Play)
- Log in to Google Play Console
- Create a New App → Set title, language, app type
- Fill out:
- Store listing
- Content rating
- App category
- Privacy policy URL4. Upload:
- AAB file (Android App Bundle)
- App icon, banner image, and screenshots5. Set pricing & distribution
6. Review and click Publish
Step 5: Upload Your No-Code App to the Apple App Store
Step-by-Step Submission (iOS)
- Sign in to App Store Connect
- Click “+” → New App
- Fill App details (Name, SKU, Primary language)
- Upload build via:
- Xcode (for coders)
- No-code platform (e.g., Thunkable)5. Submit for App Review6. Once approved, hit Release
Apple is stricter ensure content is original and functionality works flawlessly.
App Store Guidelines You Must Follow in 2025
| Criteria | Google Play | Apple App Store |
|---|---|---|
| Prohibited Content | Yes | Yes |
| Data Privacy Requirements | High | Very High |
| Content Review | Moderate | Strict |
| Ads Policy | Transparent | Extremely strict |
| UI Guidelines | Flexible | Strict (must follow iOS HIG) |
Localized Apps = Better Downloads
- Publishing in 2025 means catering to global users. Localize your app by:
- Translating the app title and description
- Localizing date/time formats
- Currency conversion
- Using region-specific screenshots improves your app’s visibility in Google Play and App Store searches in local markets.Why Some No-Code Apps Get Rejected (And How to Avoid It)
| Reason | Fix |
|---|---|
| Low-quality UI | Use platform UI guidelines |
| Lack of a privacy policy | Use Termly or FreePrivacyPolicy |
| Duplicate apps | Keep your app original |
| Misleading content | Be transparent |
| Missing screenshots | Upload all required image assets |
- Real Case Study: Publishing a Fitness Tracker on Thunkable
- Creator: Nisha Patel, Wellness Coach Goal: Create a habit-tracking app without codingTool Used: ThunkableChallenges: Apple certificate creation
Solution: Used Thunkable’s iOS automatic certificate generator
Result: App approved on both stores within 7 days
Experience Highlighted: Shows real use of no-code deploymentUpdating & Maintaining Your App
Even after publishing, you must:
- Fix bugs
- Update screenshots (if UI changes)
- Respond to reviews
- Monitor analytics via Firebase or App Store ConnectBonus: Monetize Your No-Code App in 2025
| Strategy | Google Play | Apple Store |
|---|---|---|
| In-app purchases | Supported | Supported |
| Subscriptions | Yes | Yes |
| Ad Monetization | AdMob | Apple Ads, AdMob |
| Sell digital products | Yes | Via Apple in-app payment |
Follow store rules strictly to avoid removal.
Publishing a no-code app on the Google Play Store or Apple App Store in 2025 is more accessible than ever, but success lies in planning and attention to detail. From choosing the right platform to following submission guidelines, each step plays a role in getting your app live and thriving.
Whether you’re solving a niche problem, launching a startup MVP, or just experimenting, the no-code movement gives you the tools to publish apps without coding.
Got an app idea? Don’t wait for a developer. Start building it yourself with a no-code platform. Already launched your no-code app? Share your experience in the comments!